简介
本文介绍SpringBoot如何访问静态页面。
概述
位置与优先级
位置
spring boot的静态资源:
- static目录:css、js、图片等
- templates目录:html页面
优先级
spring boot默认将/**静态资源访问映射到以下目录:
classpath:/static
classpath:/public
classpath:/resources
classpath:/META-INF/resources
这四个目录的访问优先级:META-INF/resources > resources > static > public
即:这四个路径下如果有同名文件,则会以优先级高的文件为准。
其对应的配置方法为:application.yml。默认配置如下:
spring:
web:
resources:
static-locations: classpath:/META-INF/resources/, classpath:/resources/, classpath:/static/, classpath:/public/
其实,它还与application.yml的下边这个配置有关,两者联合起来控制路径
spring:
mvc:
static-path-pattern: /**
HTML放置位置的区别
HTML文件放到templates目录下
推荐将html页面放置在templates目录,原因如下:
templates目录下的html页面不能直接访问,需要通过服务器内部进行访问,可以避免无权限的用户直接访问到隐私页面,造成信息泄露。
HTML文件放到static目录下
这样用户可以通过两种方法获得到html页面:
- 直接访问.html资源
- 通过controller跳转
就像上边说的一样,当直接访问.html资源时,用户可以访问到无权访问的页面。
方案1:HTML存放于templates目录
步骤1:引入thymeleaf 依赖
<!--访问静态资源-->
<dependency>
   <groupId>org.springframework.boot</groupId>
   <artifactId>spring-boot-starter-thymeleaf</artifactId>
</dependency>
步骤2:写一个简单的HTML,放置到templates路径
<!doctype html>
<html lang="en">

<head>
    <meta charset="UTF-8">
    <title>this is title</title>
</head>

<body>

<div>
    这是templates的demo
</div>

</body>
</html>
步骤3:编写Controller
package com.example.demo.views;

import org.springframework.stereotype.Controller;
import org.springframework.web.bind.annotation.GetMapping;
import org.springframework.web.bind.annotation.RequestMapping;

@Controller
@RequestMapping("view")
public class ViewController {
    @GetMapping("demo")
    public String demo() {
        return "demo";
    }
}
需要注意:必须使用@Controller,不能使用@RestController。
因为@RestController返回的是 JSON,且不走SpringMVC的视图解析流程,所以跳不到html那里。
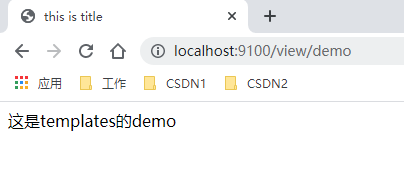
测试
访问:Node Exporter (我端口配成了9100,没有配置其他东西)

方案2:HTML存放于static目录
法1:直接访问.html资源
步骤1:将html放到static目录
<!doctype html>
<html lang="en">

<head>
    <meta charset="UTF-8">
    <title>this is title</title>
</head>

<body>

<div>
    这是static的demo
</div>

</body>
</html>
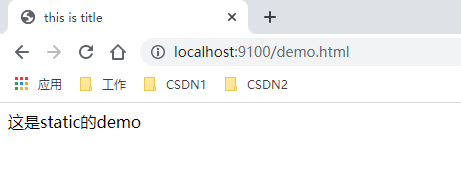
测试
访问:Node Exporter(我端口配成了9100,没有配置其他东西)

法2:通过controller跳转
步骤1:确保没有thymeleaf依赖
步骤2:将html放置到static路径
<!doctype html>
<html lang="en">

<head>
    <meta charset="UTF-8">
    <title>this is title</title>
</head>

<body>

<div>
    这是static的demo
</div>

</body>
</html>
步骤3:编写controller
package com.example.demo.views;

import org.springframework.stereotype.Controller;
import org.springframework.web.bind.annotation.GetMapping;
import org.springframework.web.bind.annotation.RequestMapping;

@Controller
@RequestMapping("view")
public class ViewController {
    @GetMapping("demo")
    public String demo() {
        return "/demo.html";
    }
}
注意:返回的字符串前边必须带“/” 。
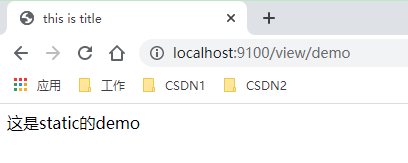
测试
访问:Node Exporter (我端口配成了9100,没有配置其他东西)

说明
也可以如下操作,结果是一样的:
application.yml配置前后缀:
spring.mvc.view.prefix=/
spring.mvc.view.suffix=.html
controller这样写:
package com.example.demo.views;

import org.springframework.stereotype.Controller;
import org.springframework.web.bind.annotation.GetMapping;
import org.springframework.web.bind.annotation.RequestMapping;

@Controller
@RequestMapping("view")
public class ViewController {
    @GetMapping("demo")
    public String demo() {
        return "demo";
    }
}

请先 !