简介
本文介绍VMware创建Ubuntu虚拟机的方法。
VMware是最好用的虚拟机软件,安装方法见:VMware安装教程
本文安装当前最新的Ubuntu的LTS镜像:ubuntu2022.04.4LTS。
我已经将安装好的虚拟机打包了,不想一步一步安装的可以直接下载:
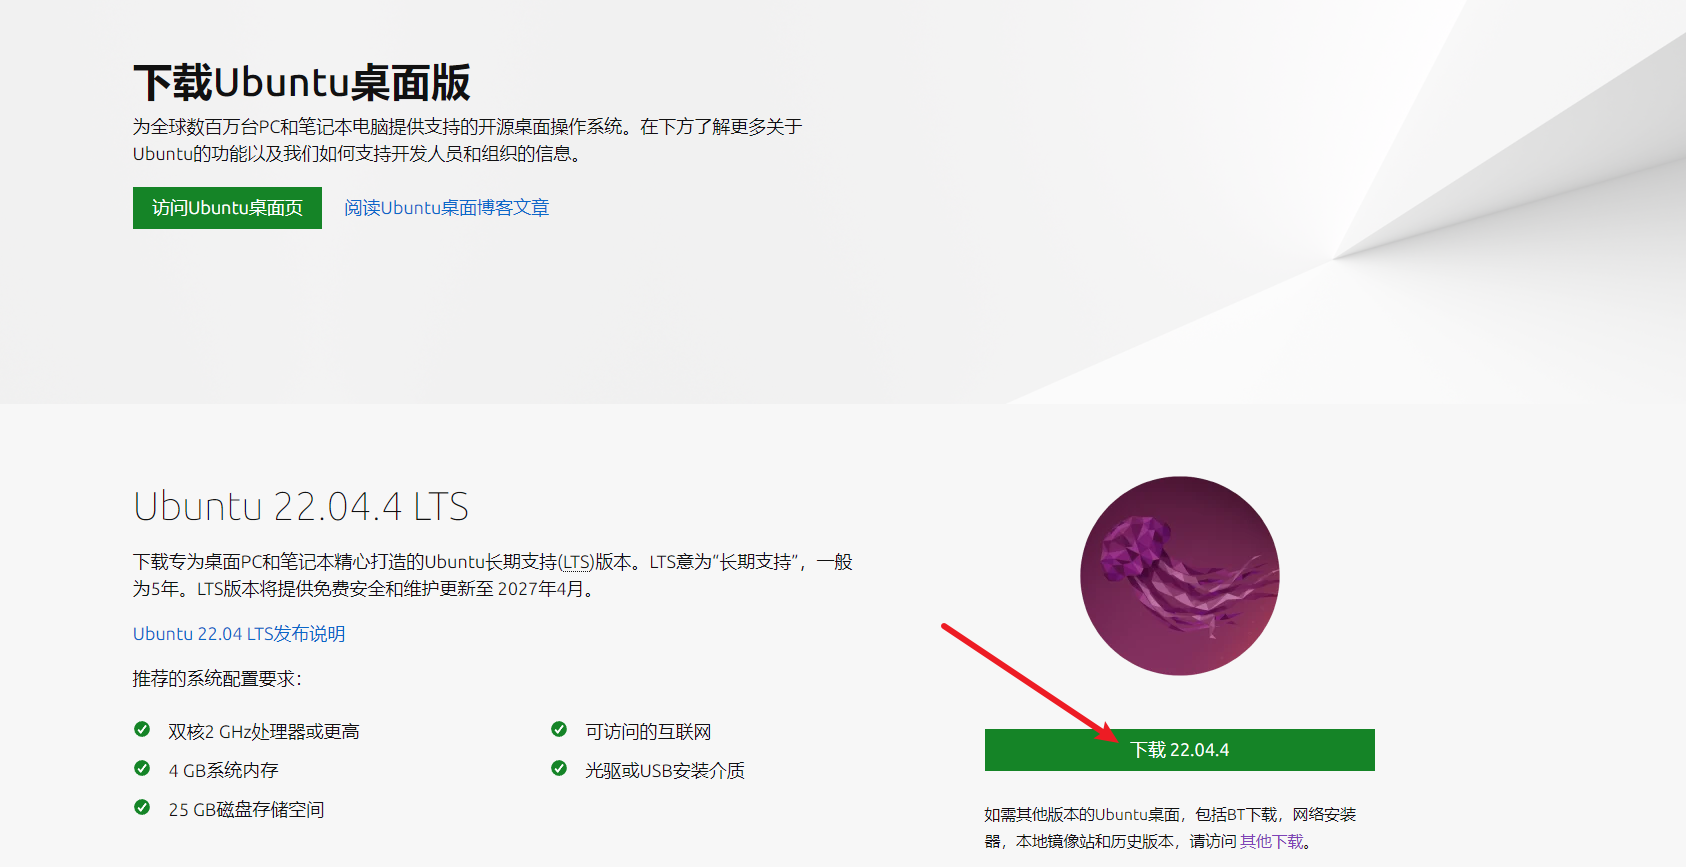
1.下载Ubuntu镜像
下载地址:https://cn.ubuntu.com/download/desktop
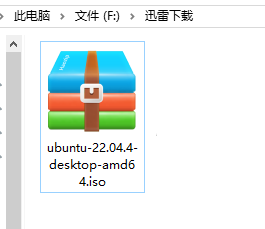
下载后的镜像(ios文件很大:4.67GB):
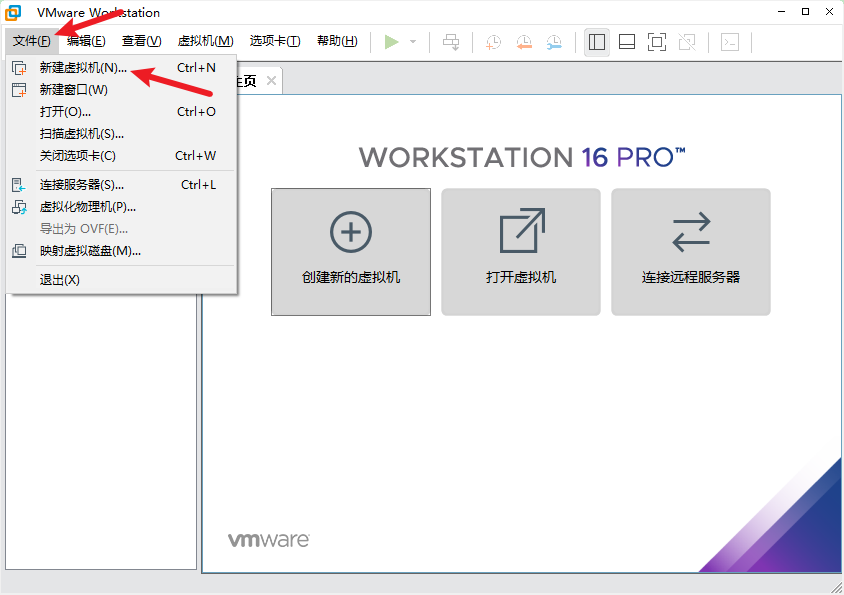
2.用VMware创建虚拟机
文件=> 新建虚拟机
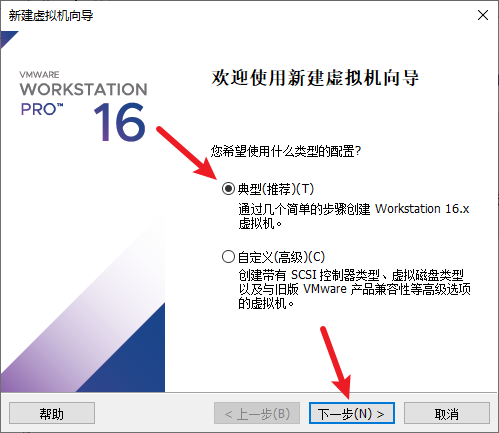
使用典型方式
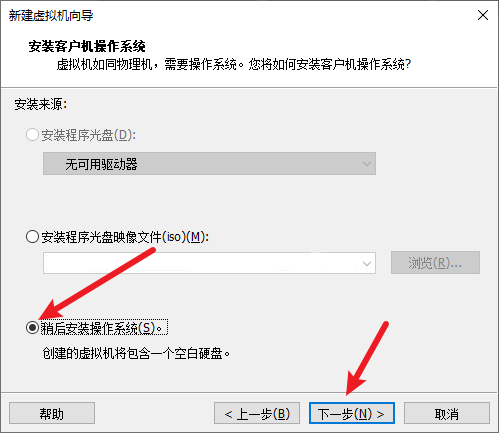
稍后安装操作系统
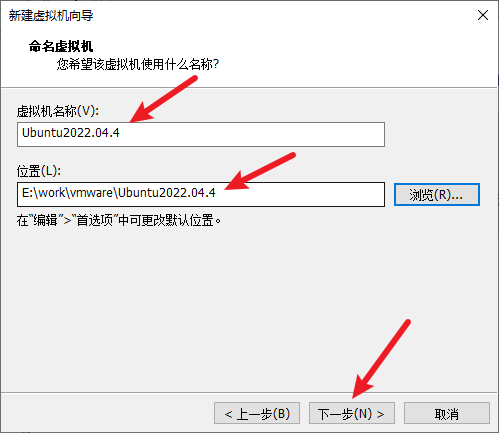
设置虚拟机名字和位置(要选择大于100G的盘符,因为会越用越大,一般会用到10G-60G)
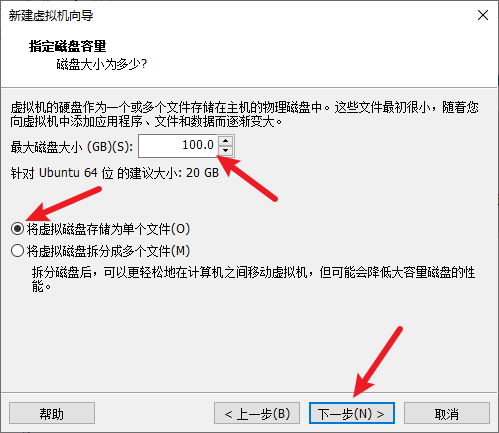
指定容量(尽量大一些(100G足够了)) ;存储为单个文件
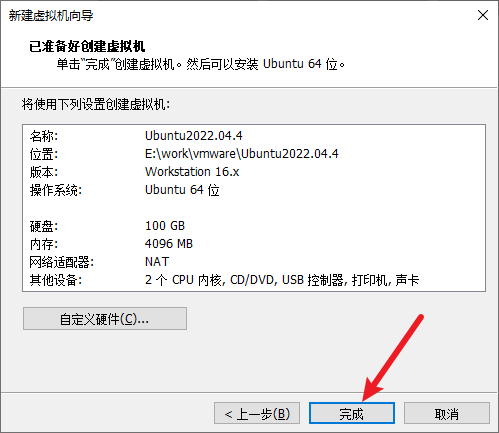
点击:完成
3.安装系统
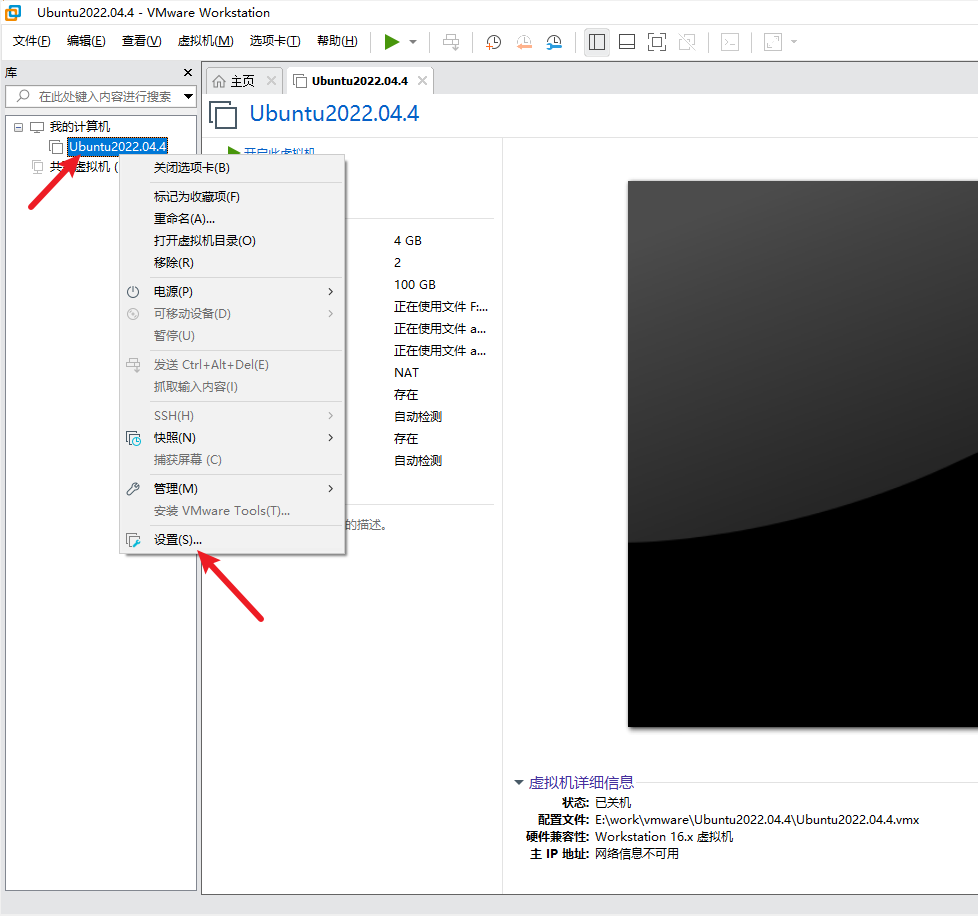
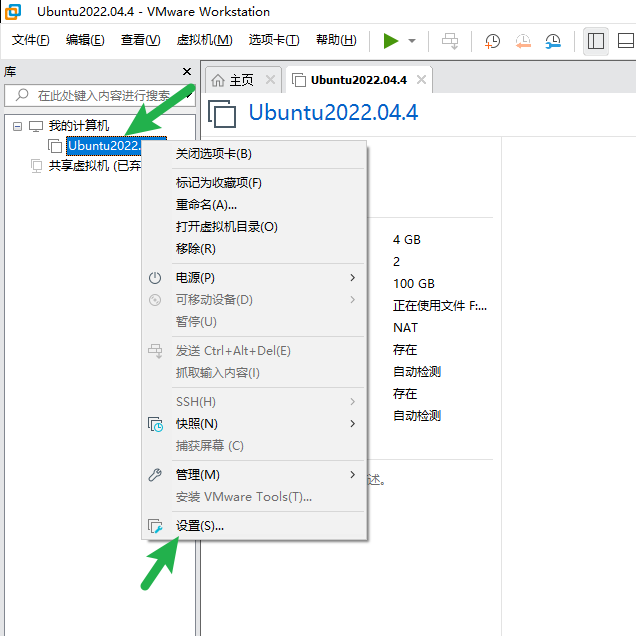
右键虚拟机=> 设置
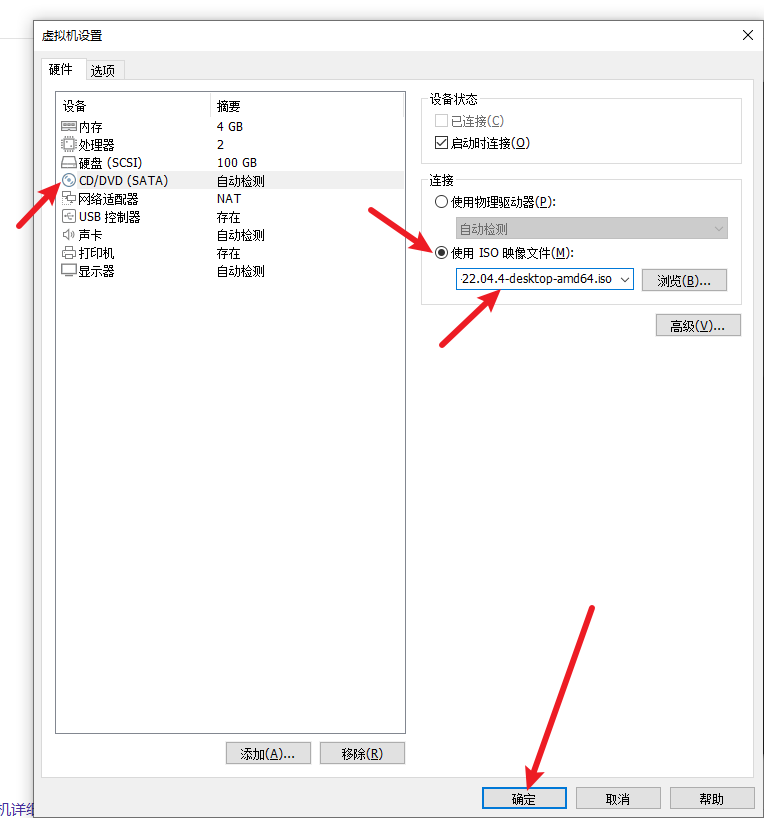
选择自己下载的iso文件
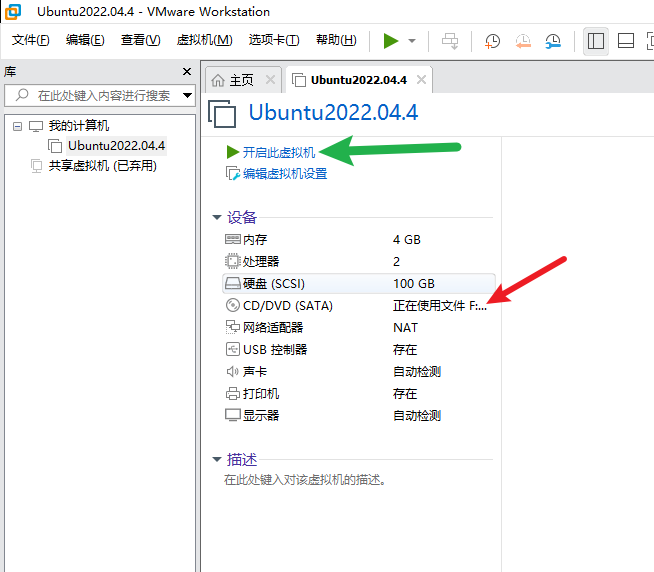
上一步点击完成后,开启此虚拟机(可以看到CD/DVD正在使用iso文件)
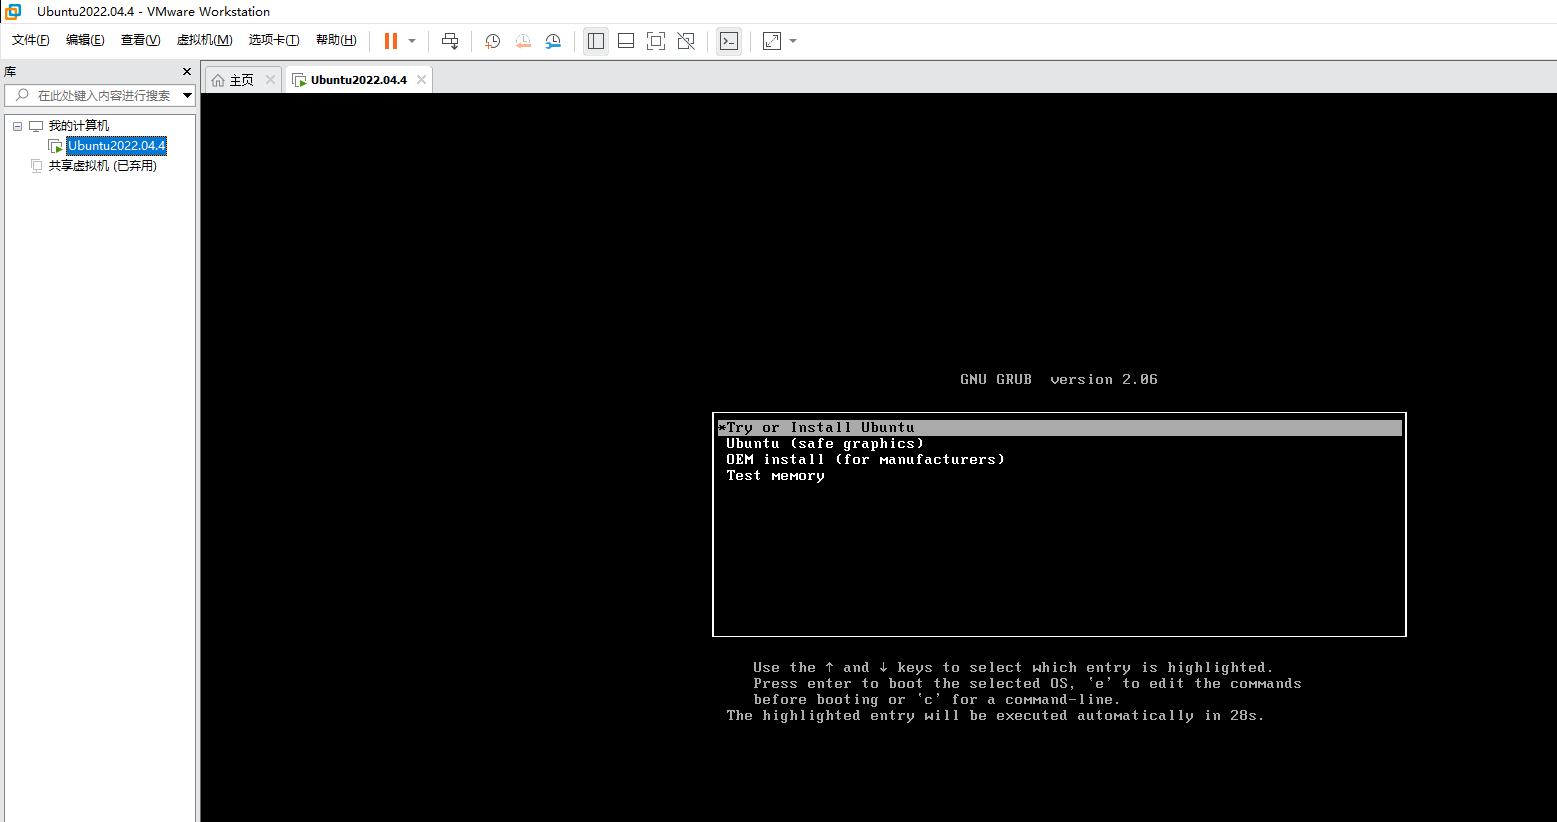
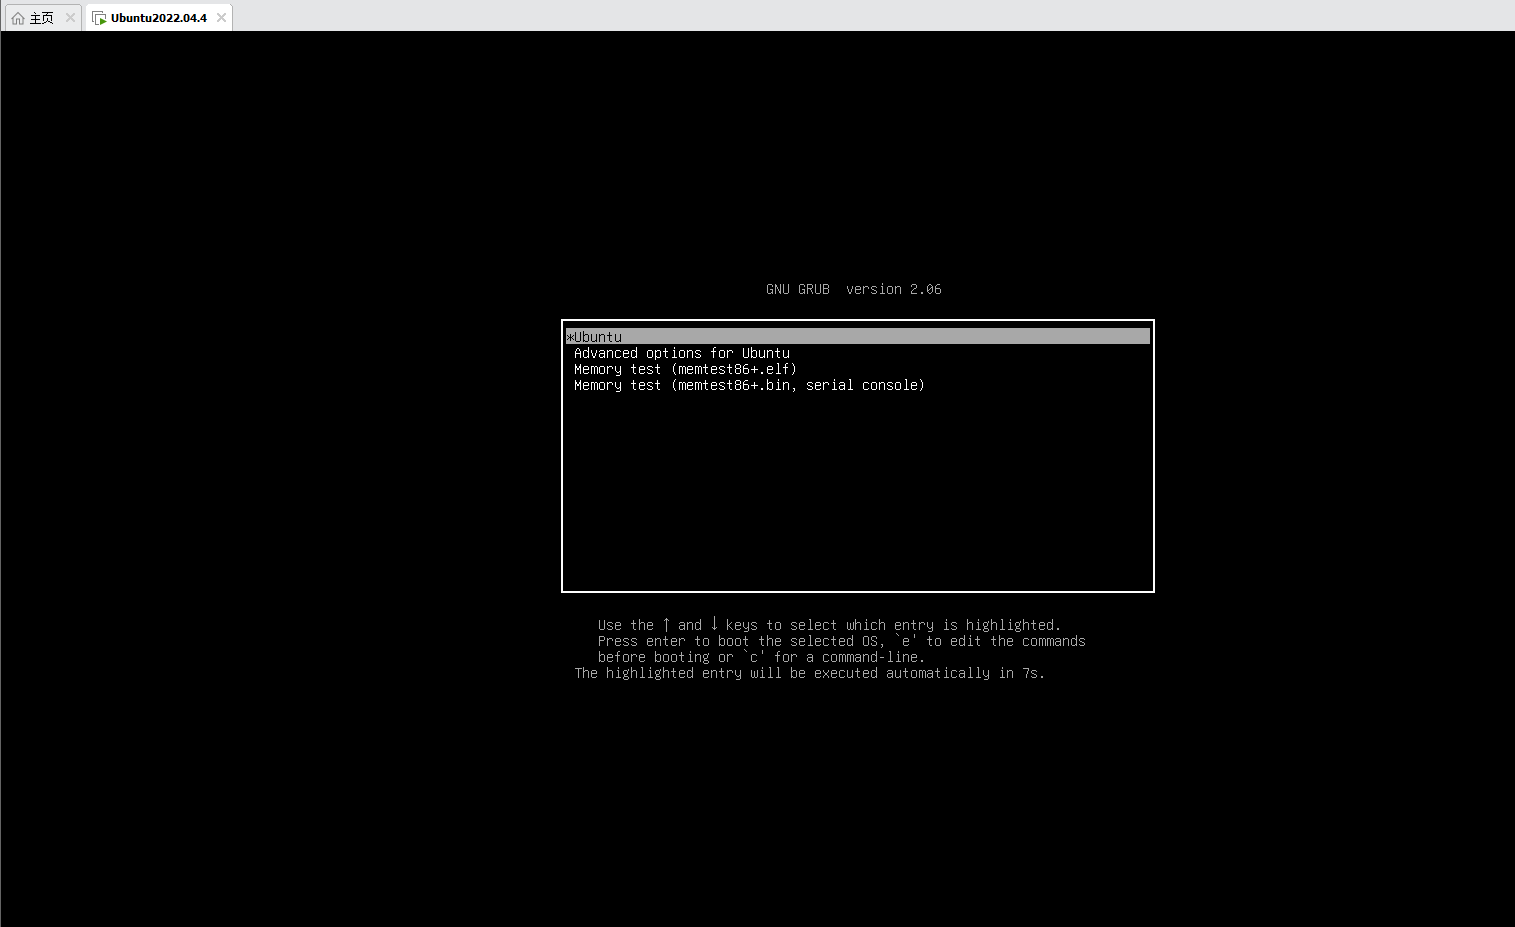
直接回车 (也可以等待30秒,它会自动跳过去)
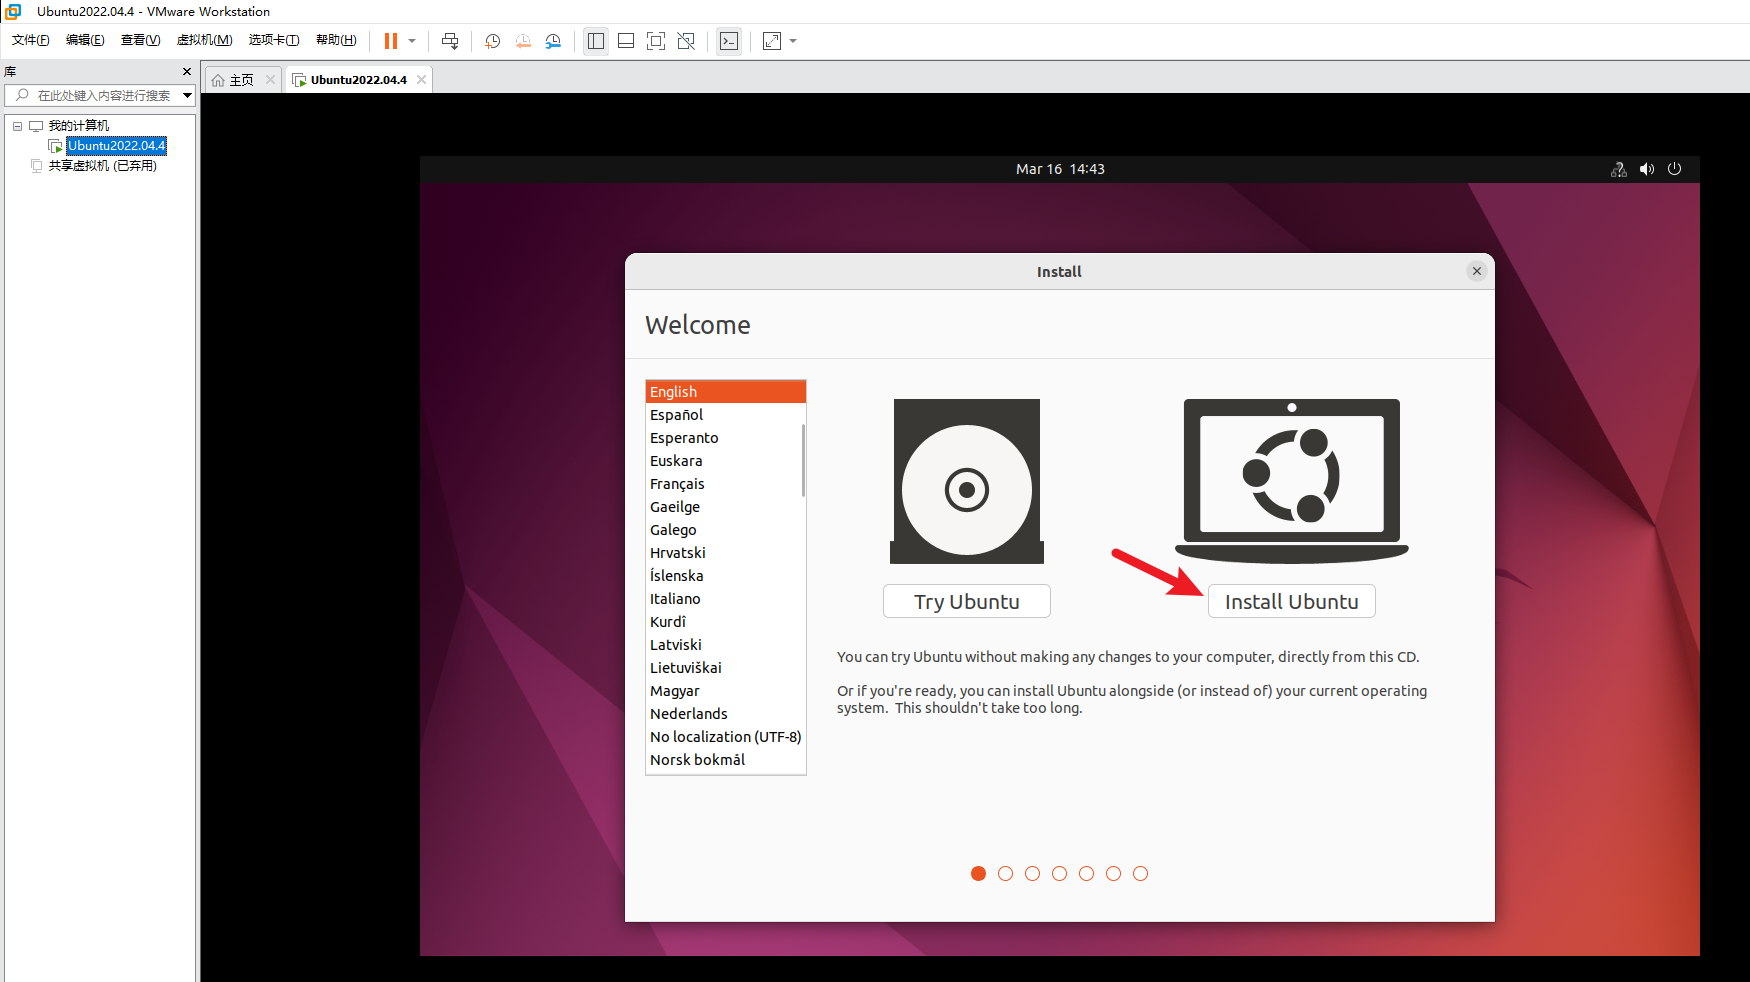
安装Ubuntu
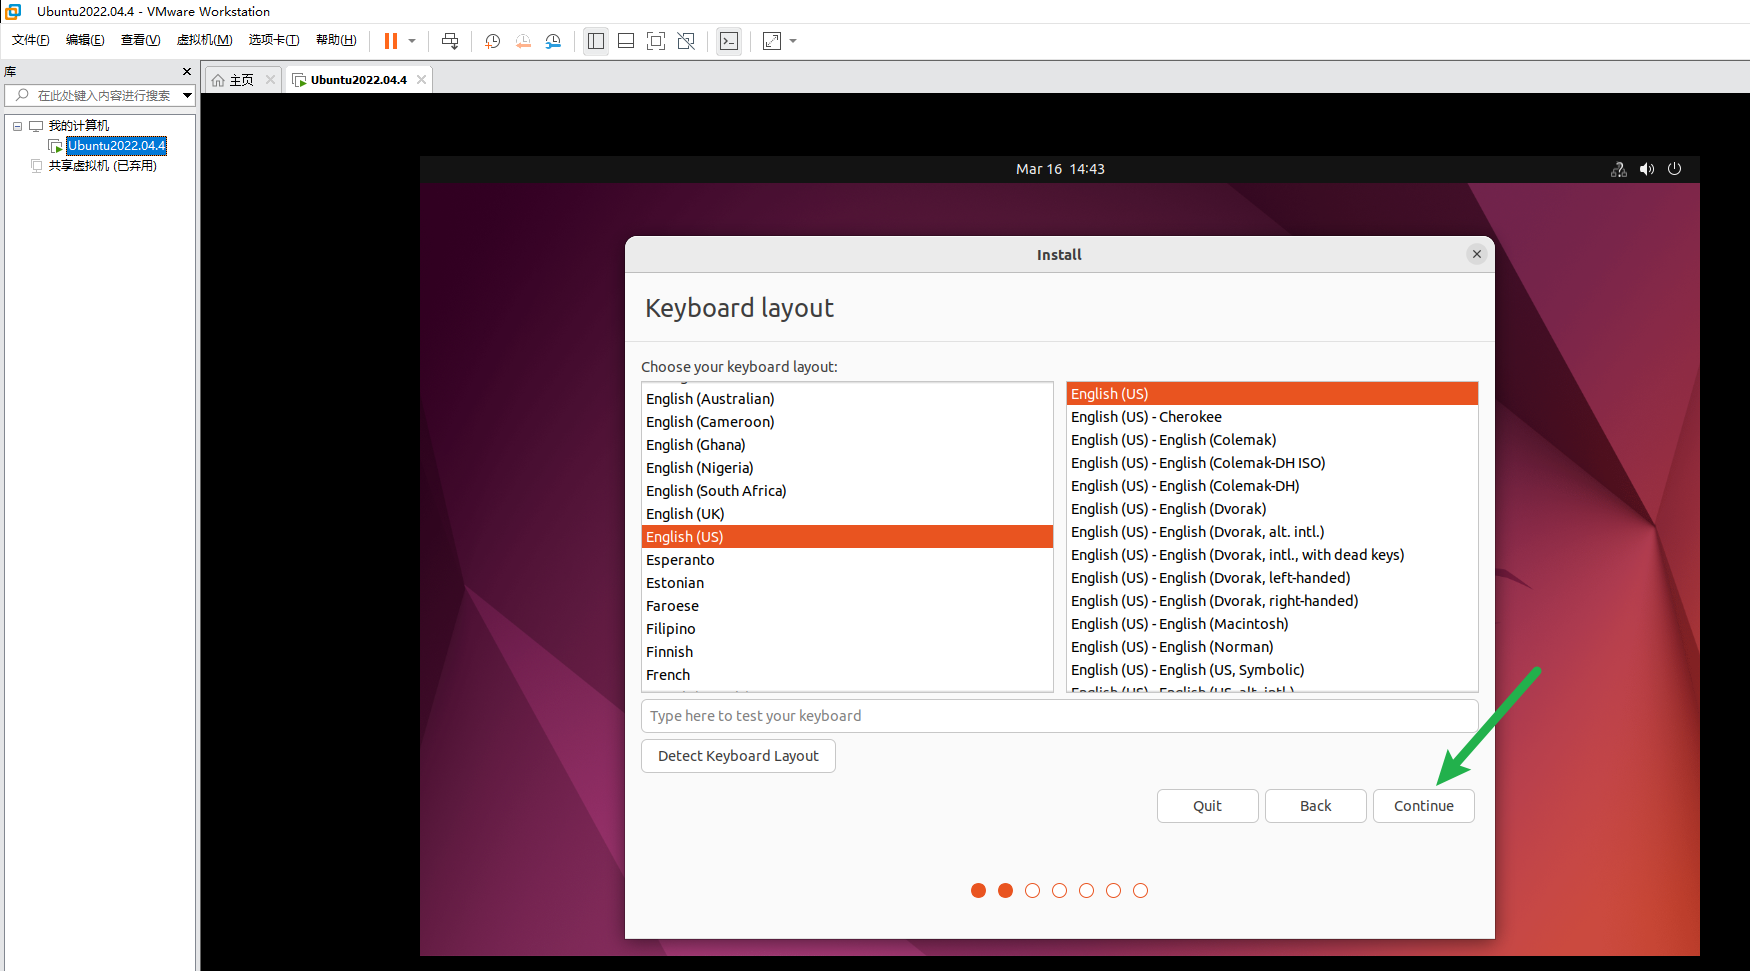
选择键盘布局,直接下一步(Continue)
选择要安装的软件(建议选箭头所指的最小安装,只安装必要工具(包括图形界面),不安装Office、游戏等软件)

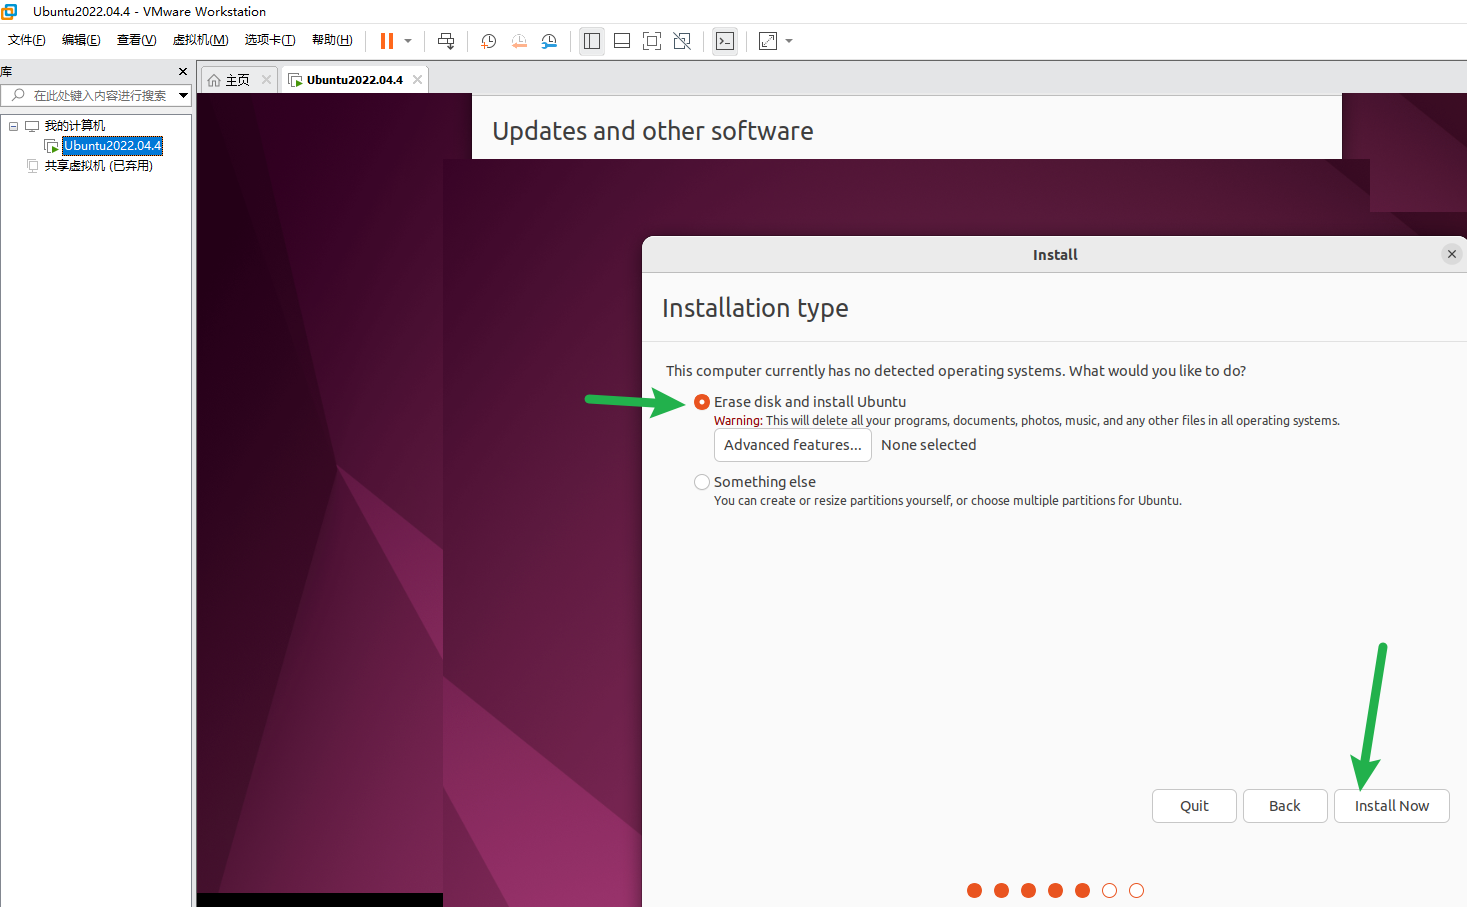
选择磁盘分区的方式,选系统自动分区即可(Erase disk and install Ubuntu)
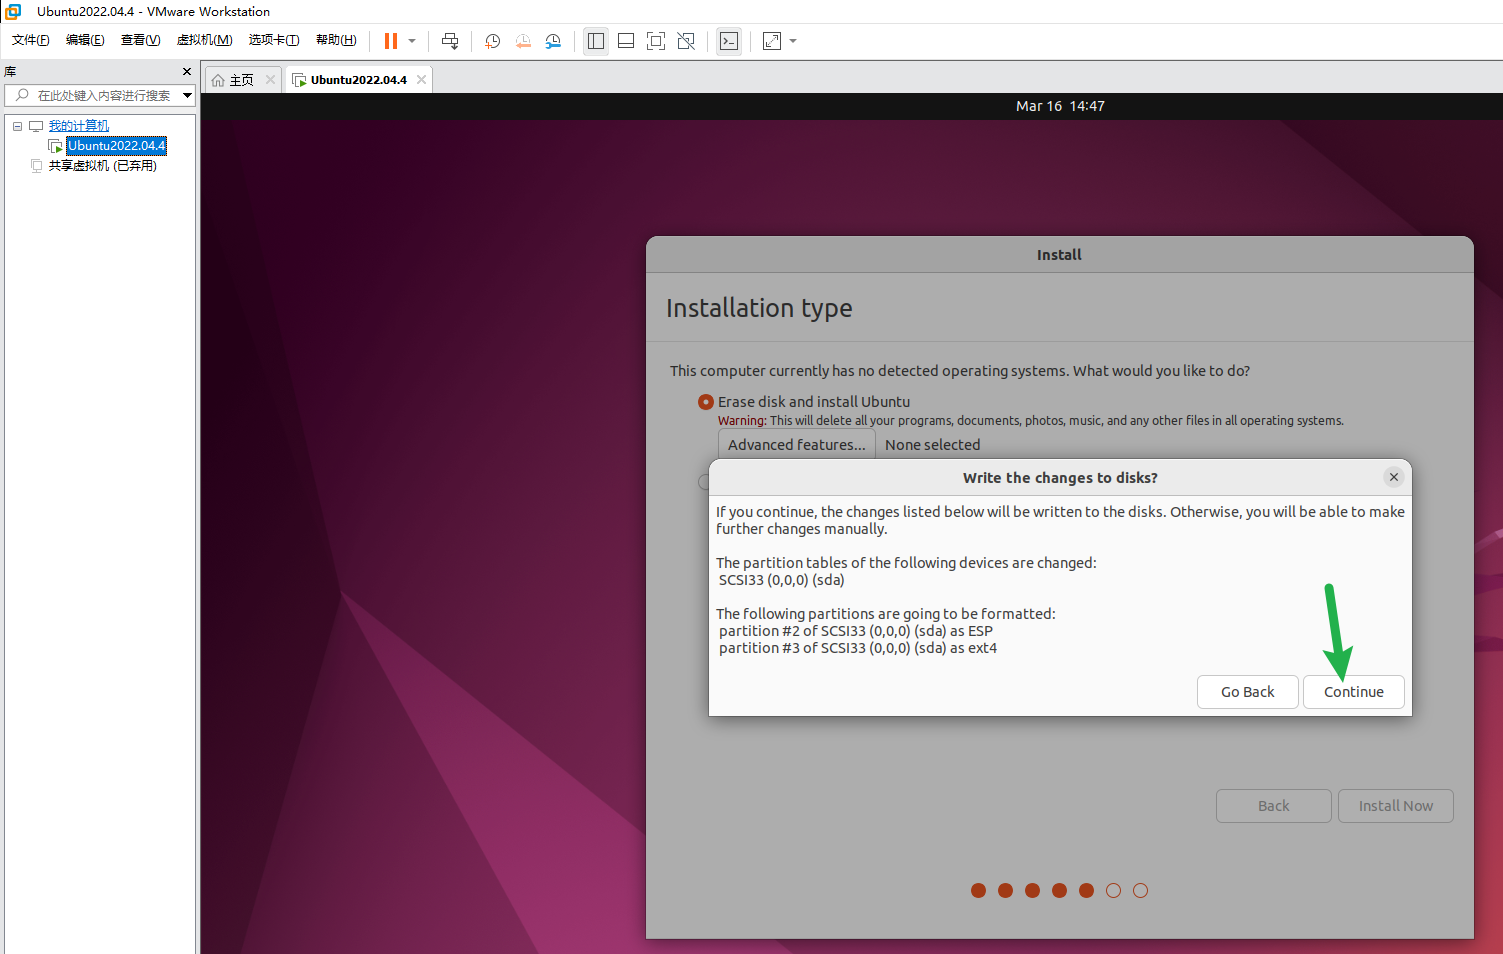
直接下一步(Continue)
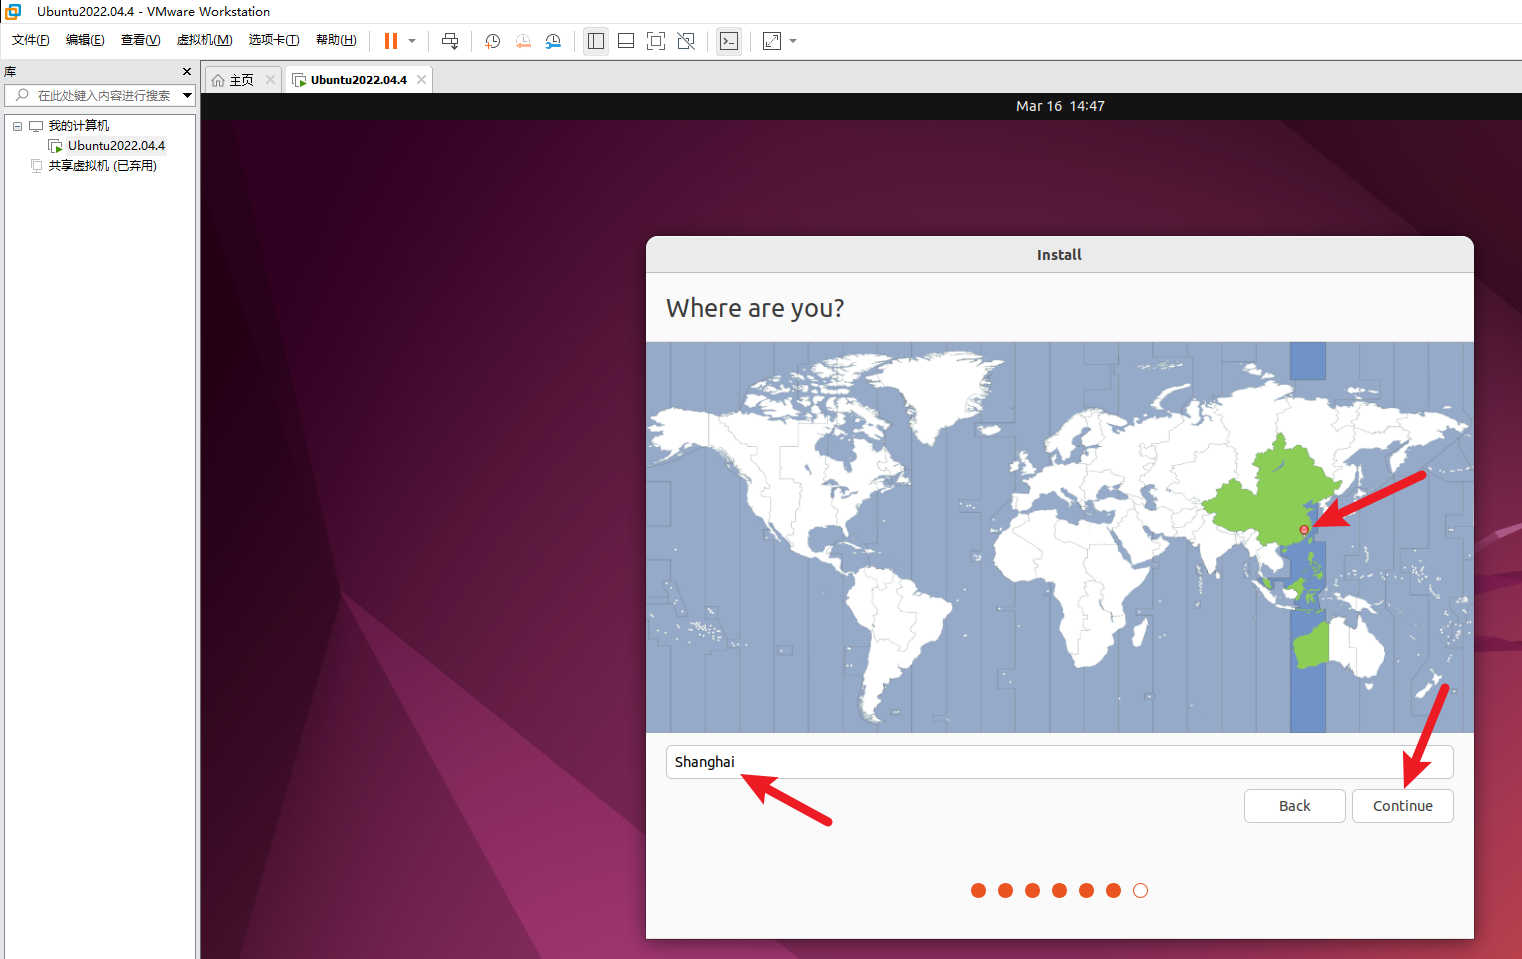
选择时区。将鼠标点到中国上海,即可选择中国时区
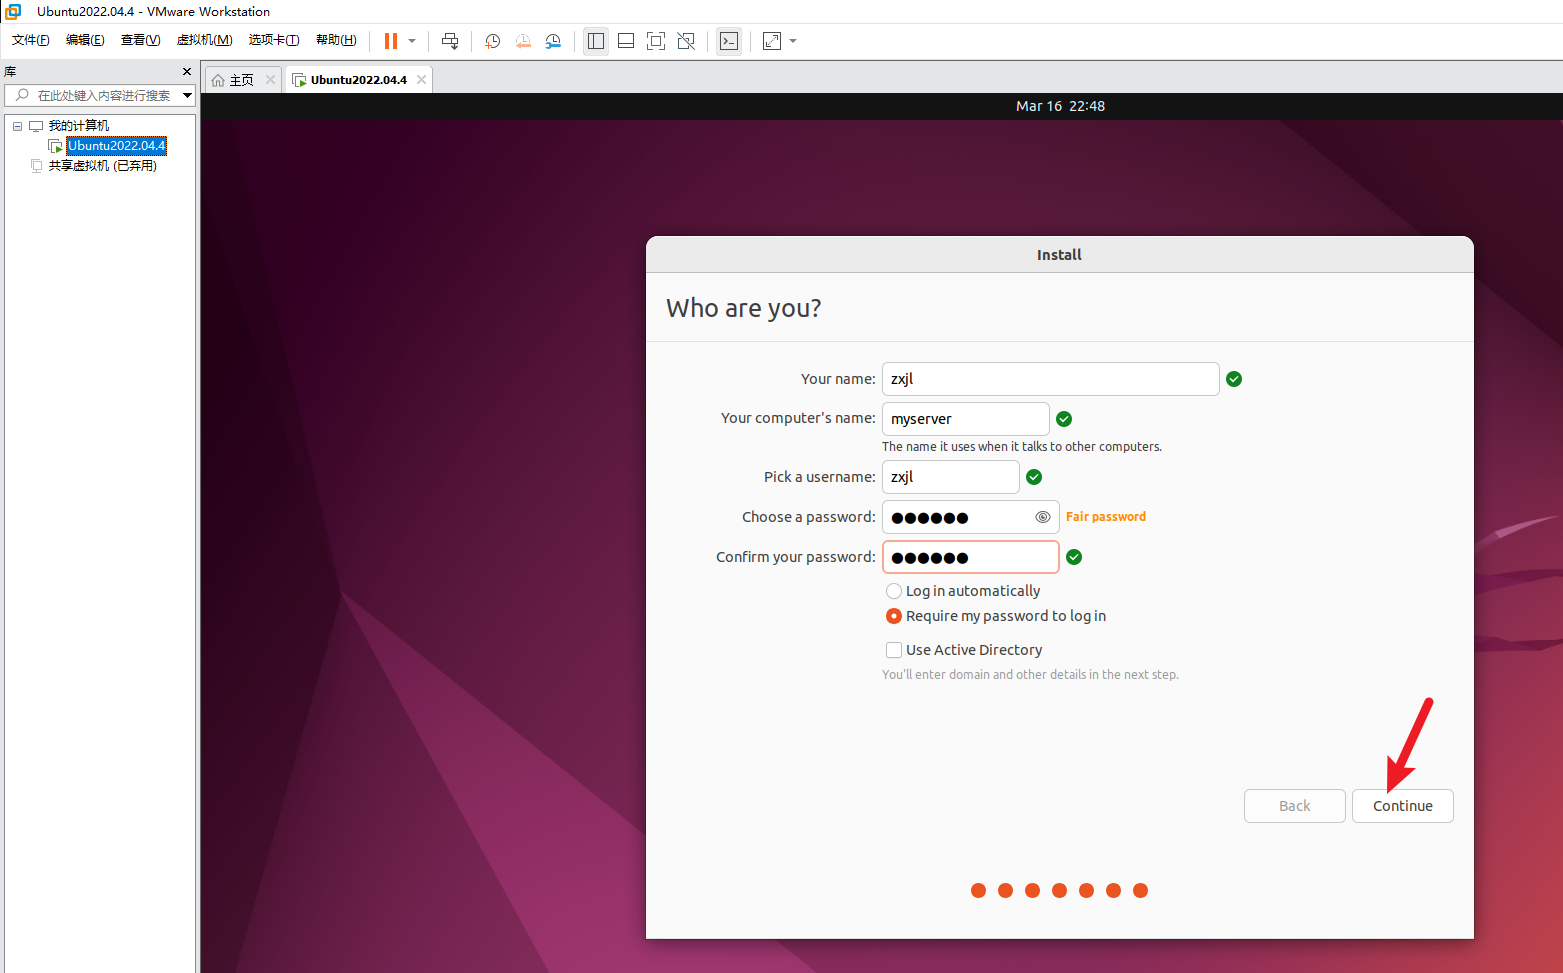
设置名字和虚拟机的主机名,用户名和密码(密码我设置为222333)
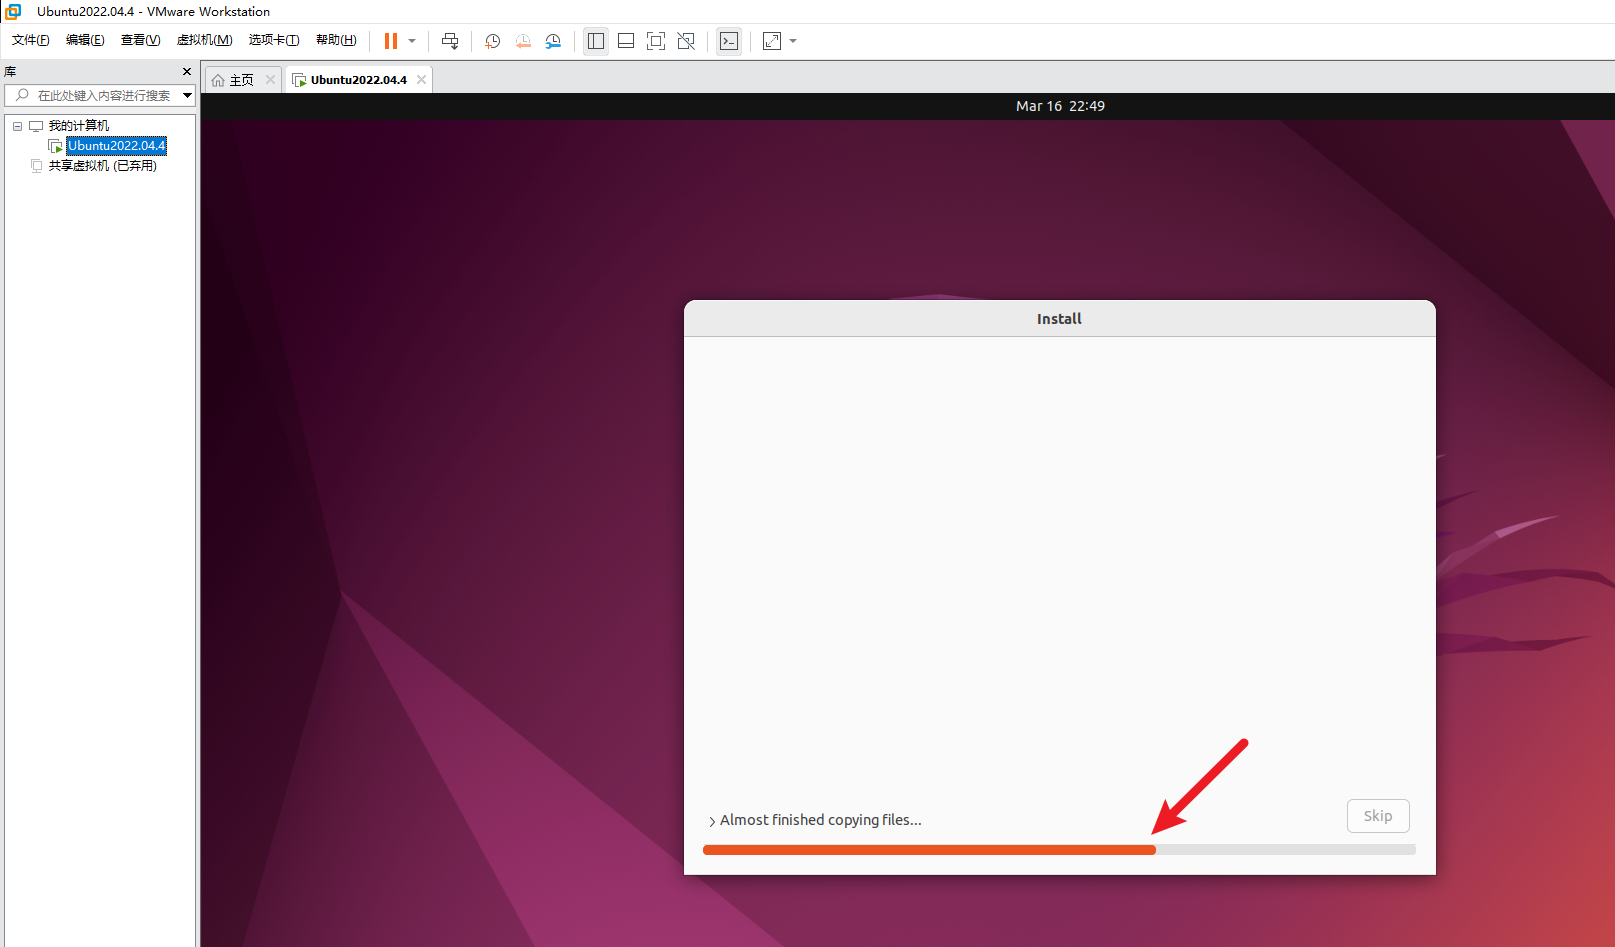
正在安装系统(比较慢,估计十几分钟)
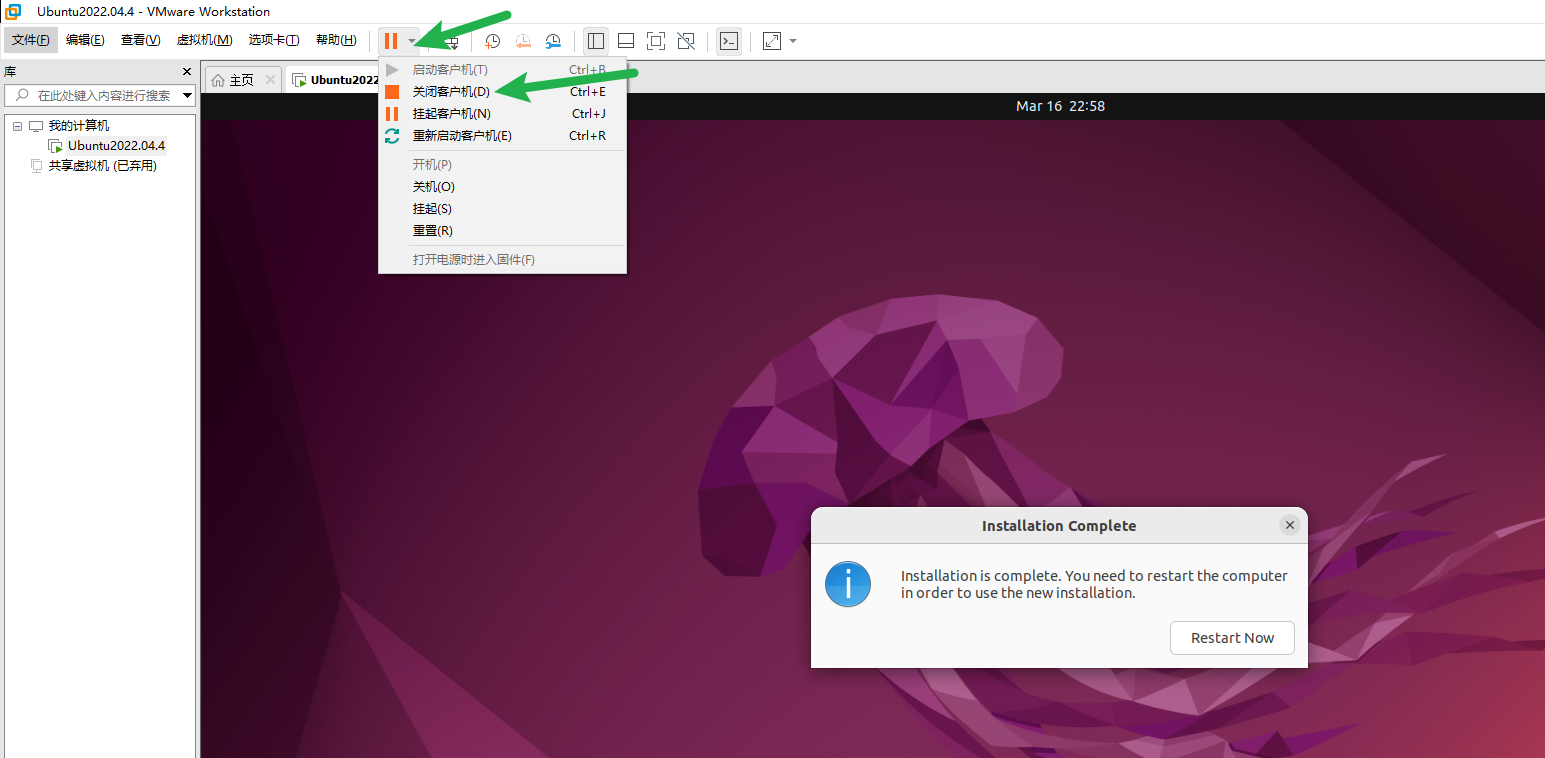
出现下图,表示安装完毕。(此时不要操作,看下一张图)
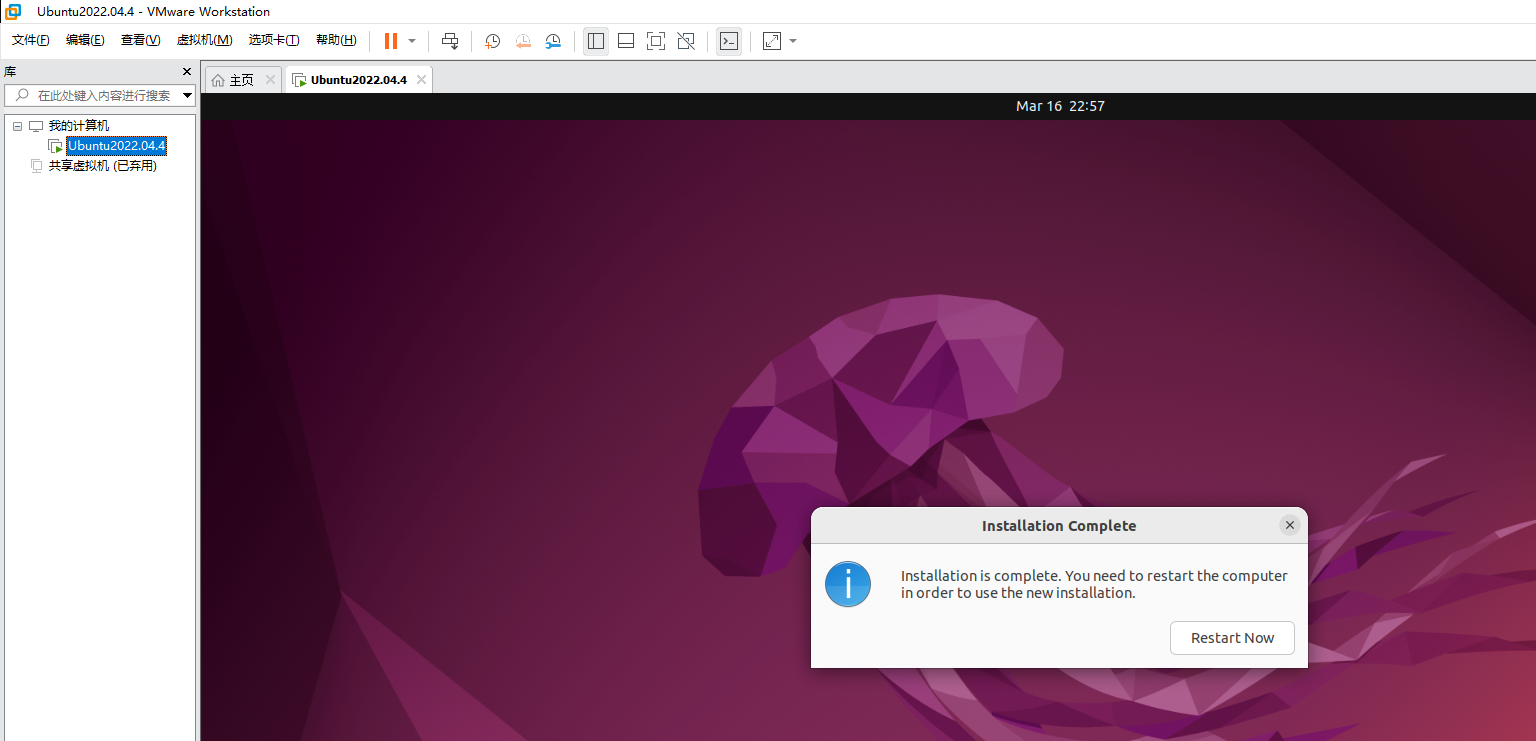
直接关闭虚拟机(点击关闭后,会出现几个提示框或页面,直接回车确认即可)
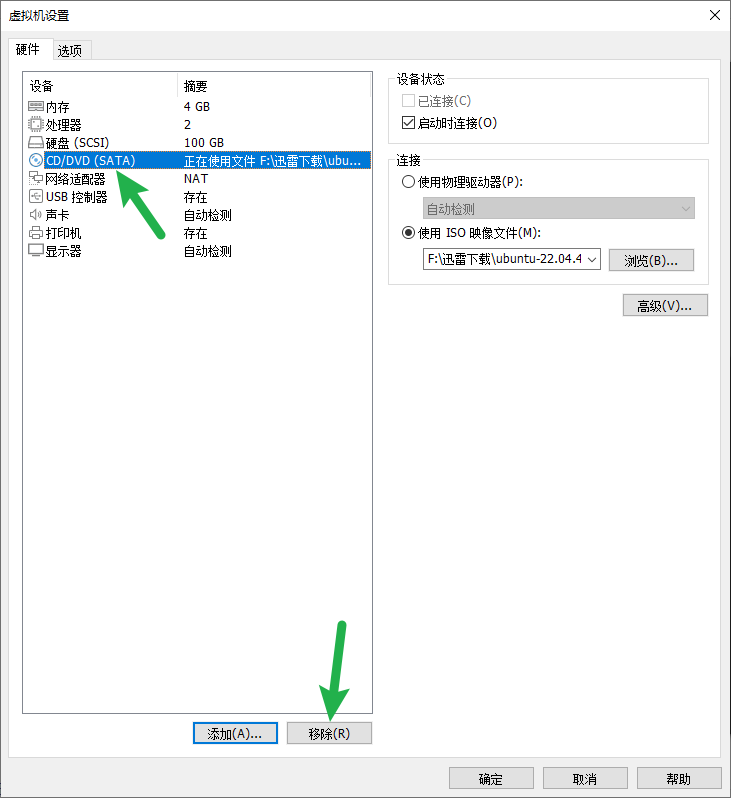
4.移除iso文件
iso是装系统用的,现在装好了,就要把它移除掉!
右击虚拟机=> 设置
移除“CD/DVD(SATA)”
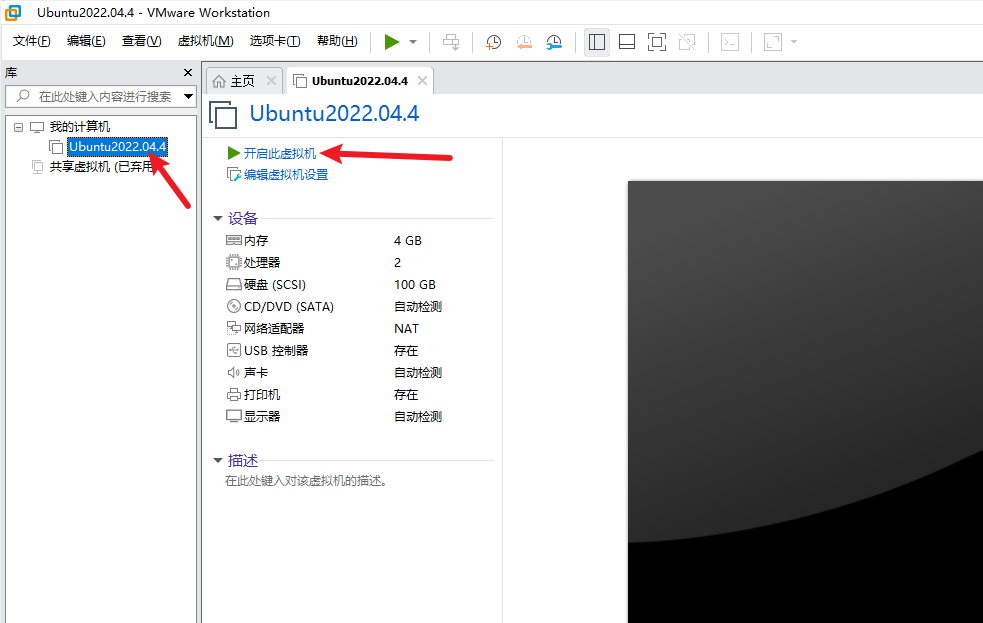
5.启动虚拟机
启动虚拟机
第一次启动时会有下边这个对话框,直接回车即可(也可以不管它,30秒后会进入系统)
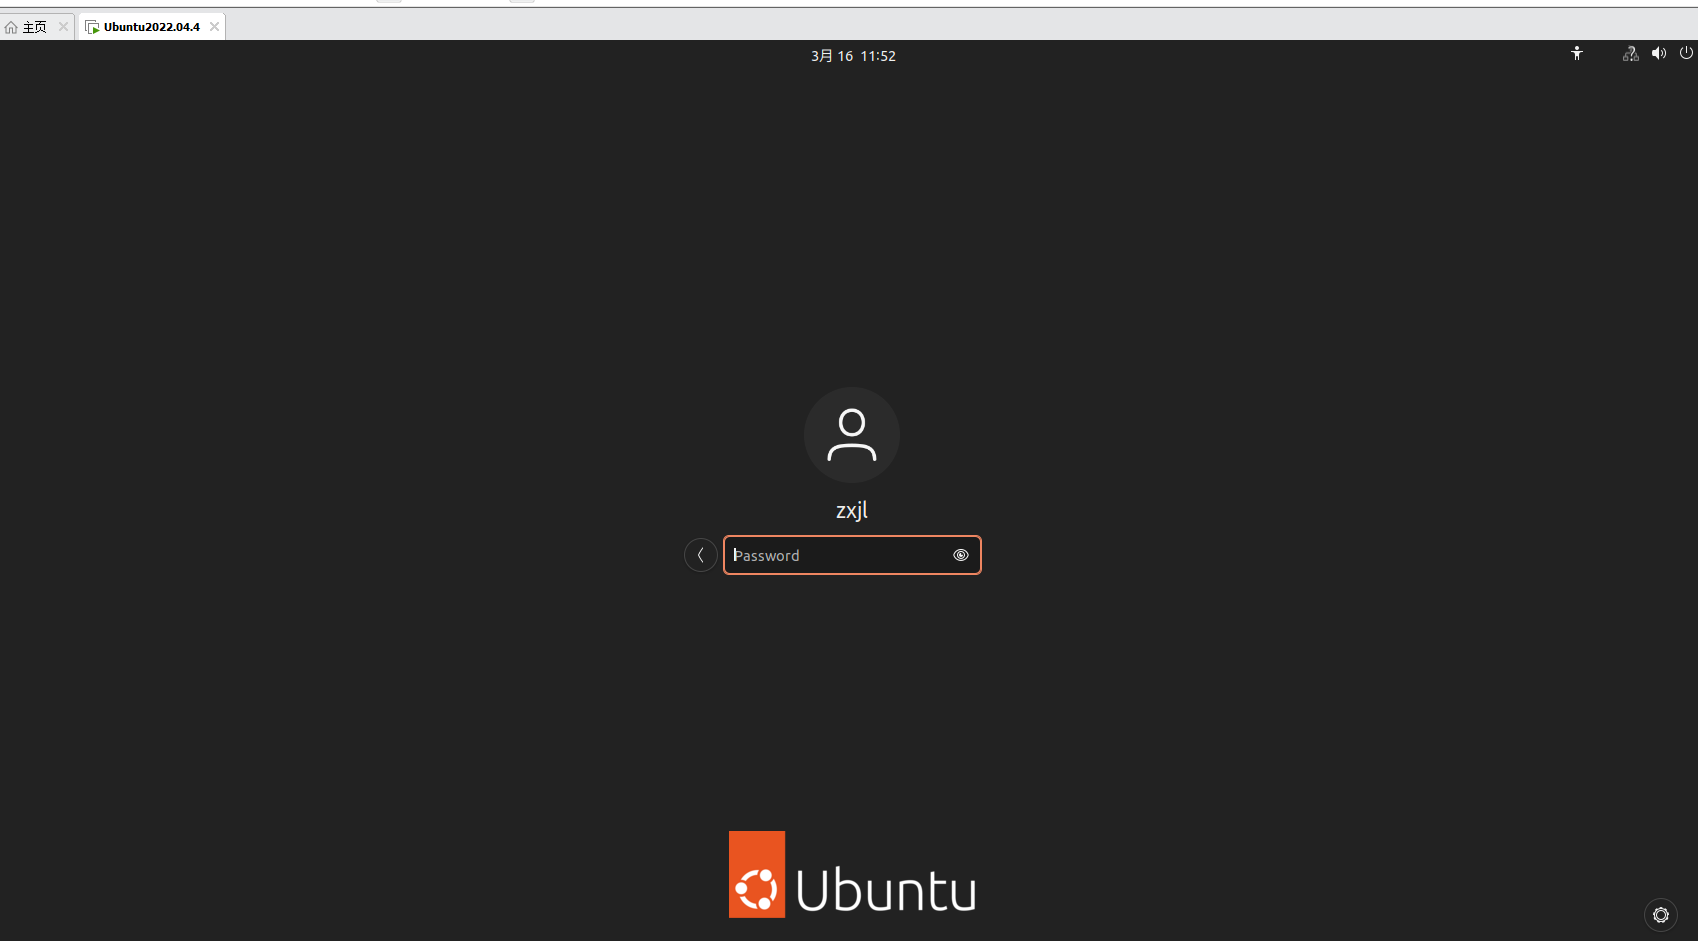
到达登录页面

鼠标点击一下中间的头像或者直接回车,即可输入密码,输入密码后回车
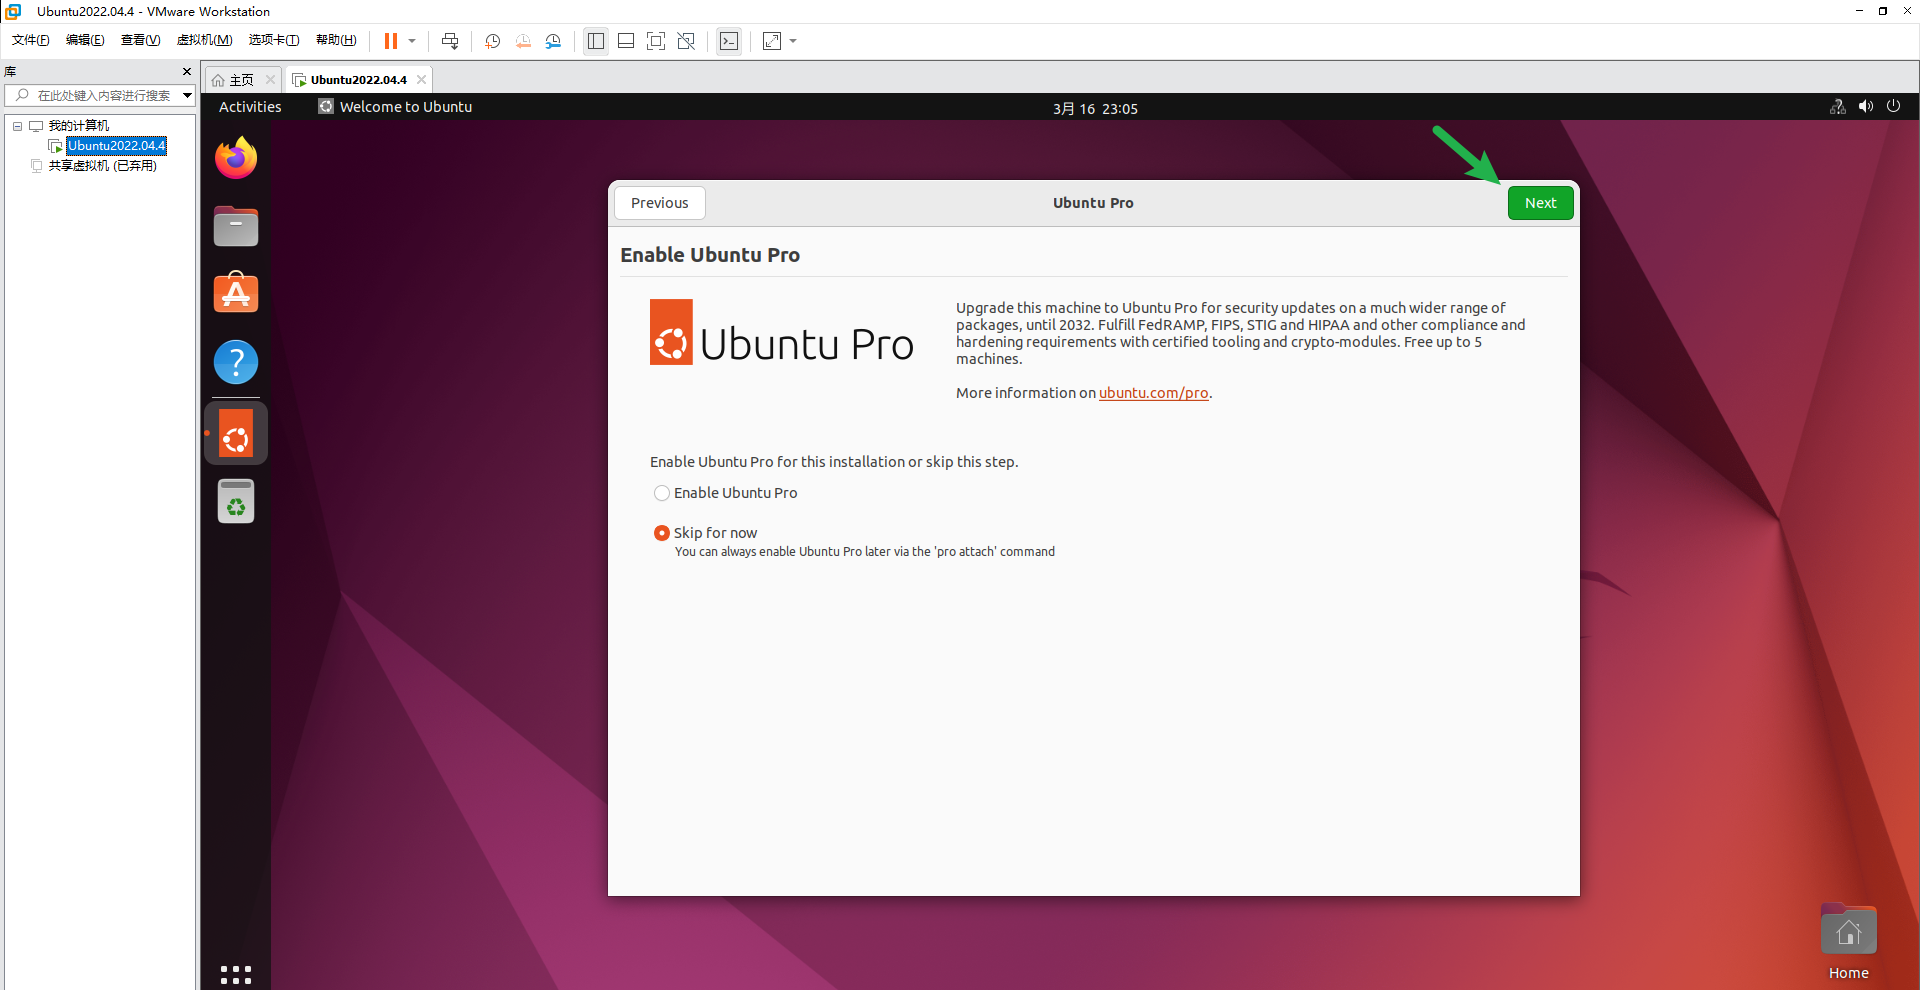
进入系统后的页面如下,选择跳过

默认不使用Ubunru Pro,直接下一步
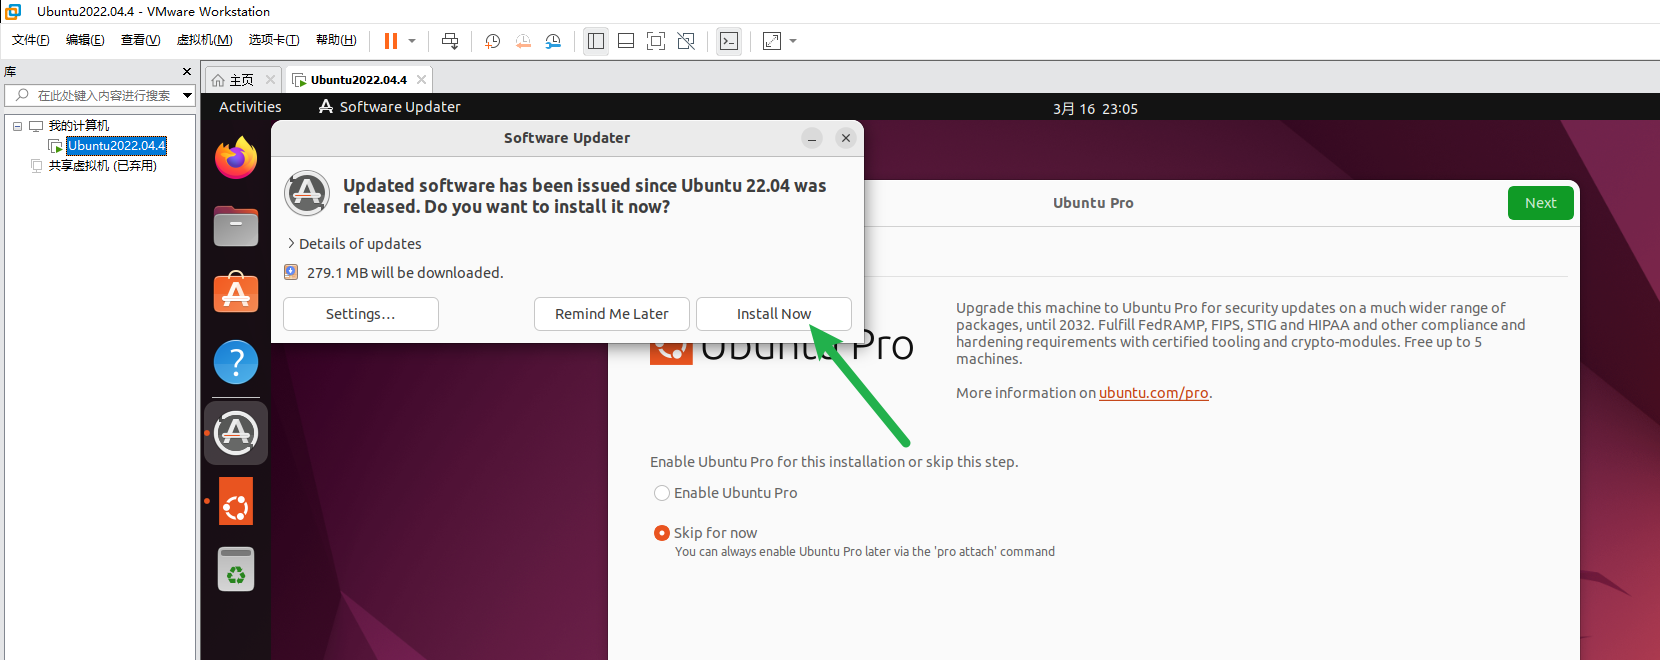
有时会提示更新软件,点击更新即可
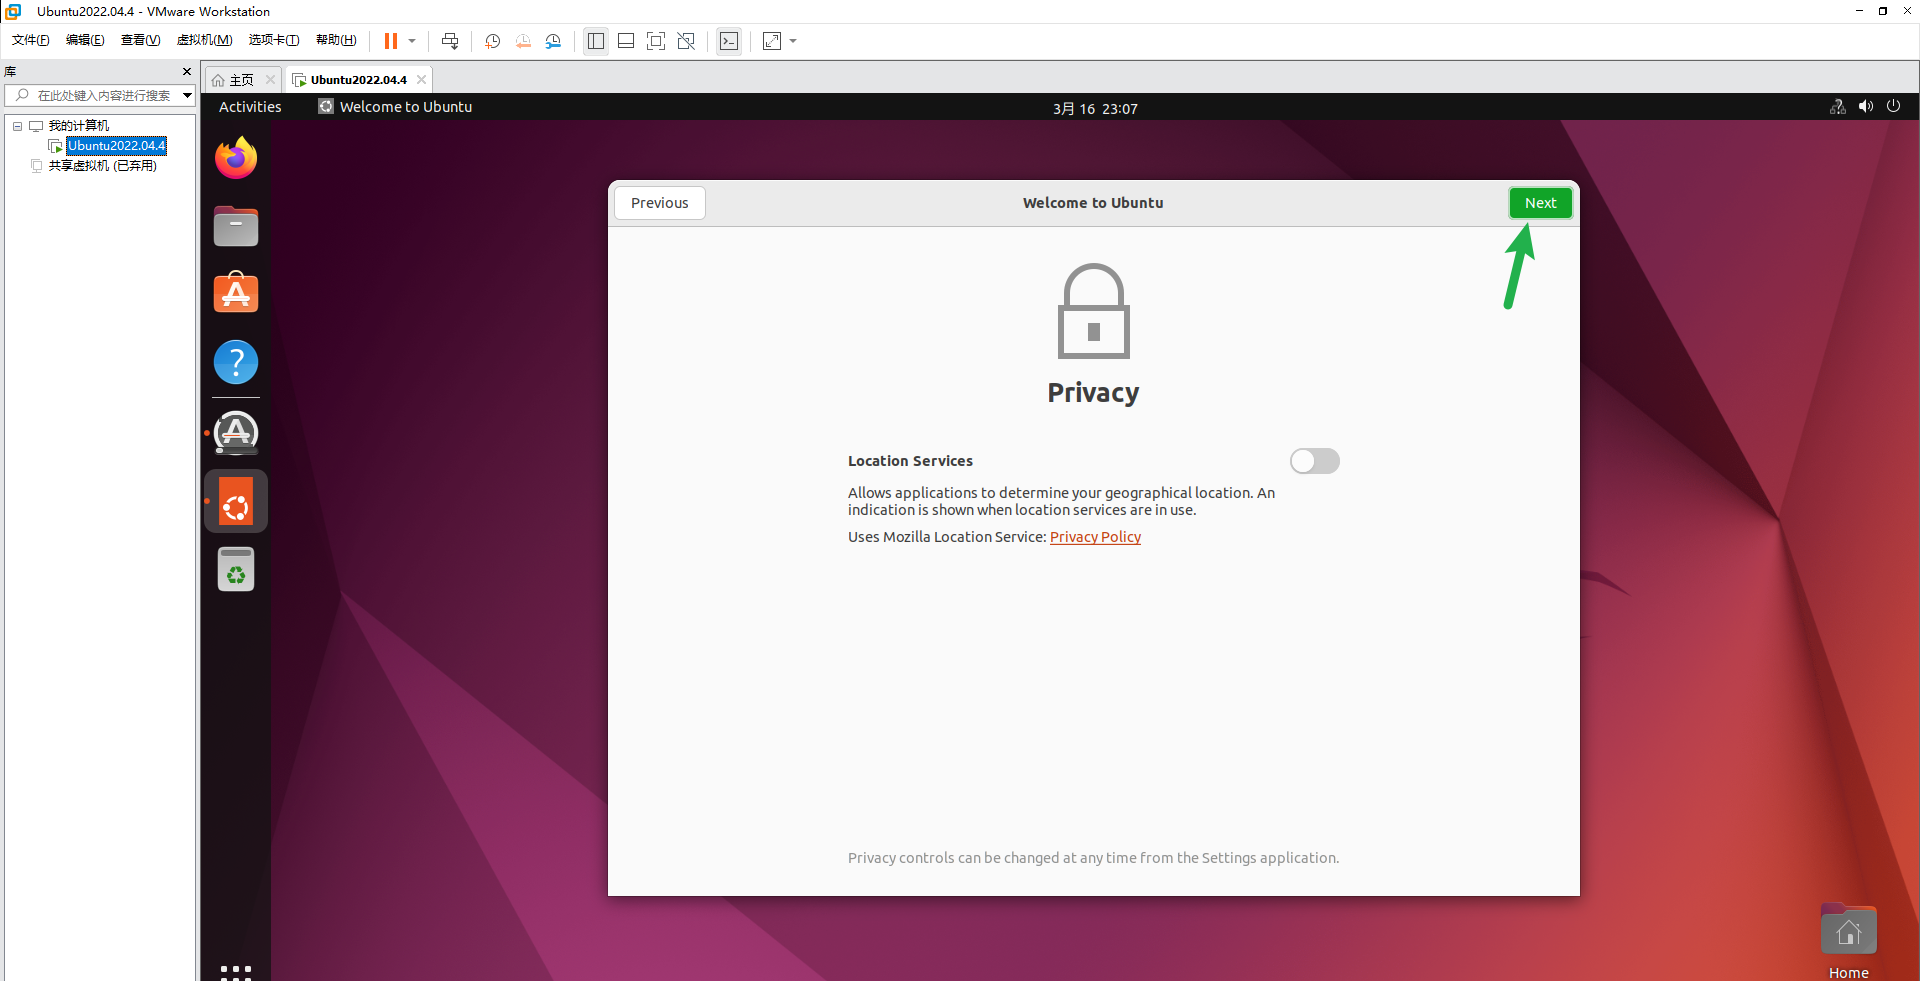
选择不发送报告信息,下一步

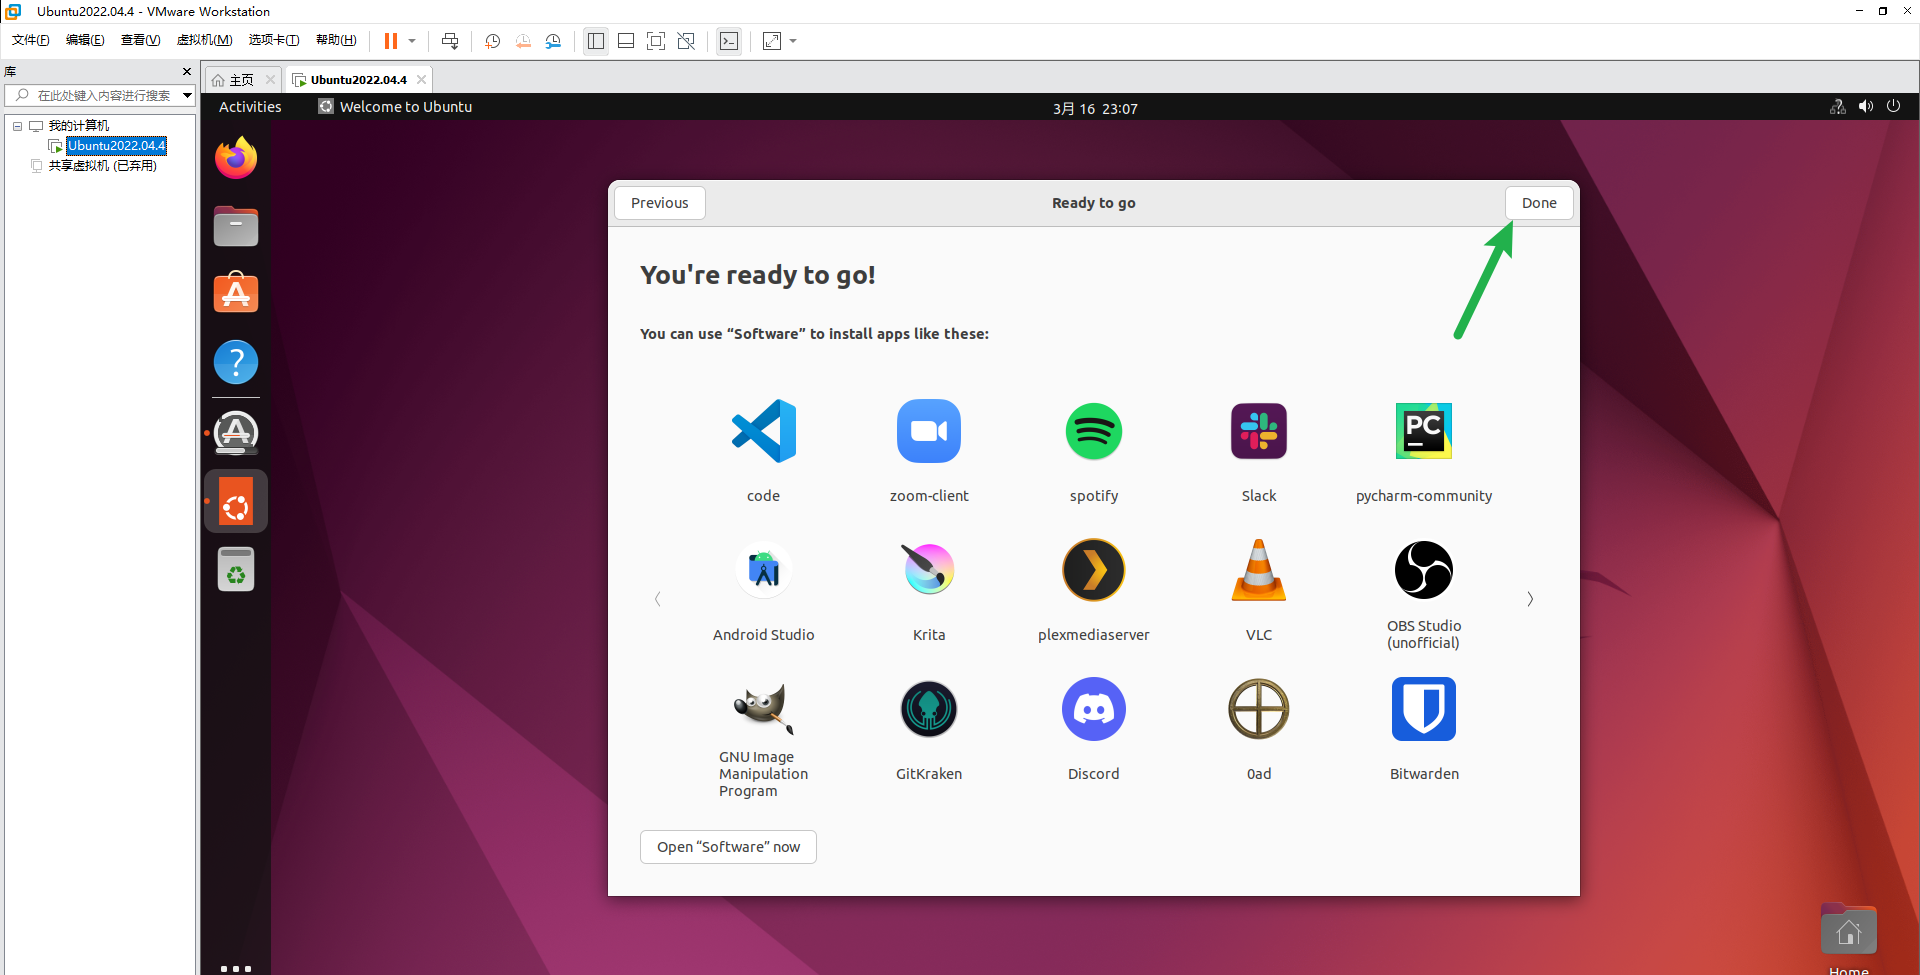
直接下一步
结束
6.添加root用户
安装完后没有root用户,可以看此文,设置一下root用户及密码:Linux权限-找回root密码/修改root密码 – 自学精灵
7.设置网络
设置网络的方法见:VMware–设置网络(NAT方式,固定IP)- 自学精灵
根据自己的实际情况进行配置。比如:本处的设置:IP、网关的,全都设置为:192.168.5.XXX。
最终虚拟机的IP地址为:192.168.5.193
8.安装SSH
安装软件前,先更新一下软件源:
按下Ctrl+Alt+T,运行命令:
sudo apt-get update
密码就是上边设置的密码:222333
然后安装SSH,方法见:Ubuntu之apt-get–安装ssh–方法/教程 – 自学精灵


请先 !